


Knockdown Tackdown Stitch Embroidery: The Complete Guide
Knockdown tackdown stitch embroidery is one of the most requested fixes from embroidery shops and one of the most commonly skipped steps in embroidery digitizing. If you have ever run a design on fleece, terry cloth or 3D puff foam and watched the stitches sink into the fabric or lose their shape, a missing knockdown stitch in your file is almost certainly the reason.
This is not a complicated fix, but it is a critical one.
What Is Knockdown Tackdown Stitch Embroidery?
A knockdown stitch, also called a tackdown stitch, runs before your main design. Its only job is to flatten the fabric surface so the top stitches have a smooth, stable base to sit on.
When Do You Need a Knockdown Tackdown Stitch?
Not every fabric needs one. Here is when it becomes essential:
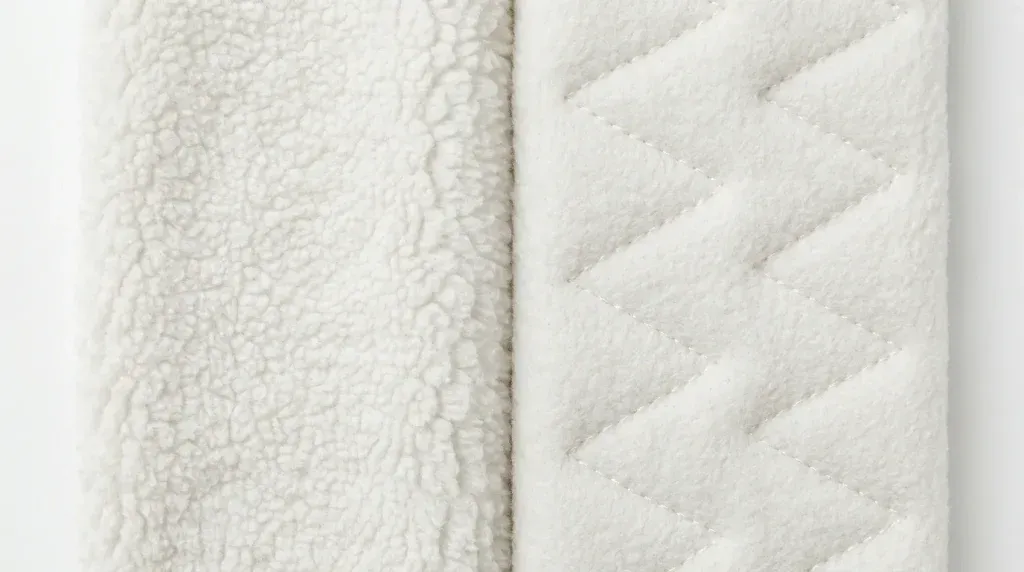
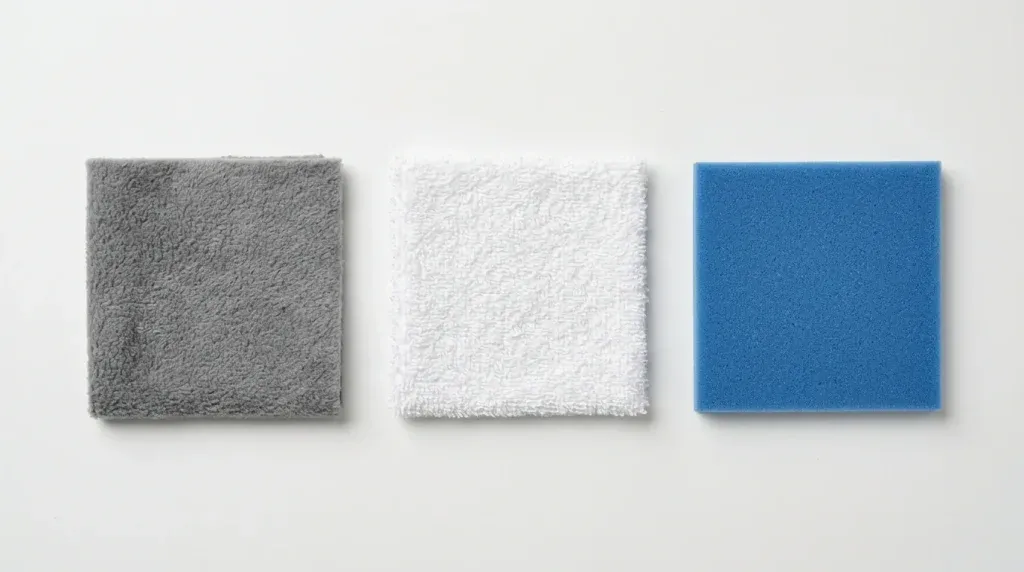
- Fleece: Surface pile is thick and soft. Without a knockdown, satin stitches sink and disappear into the loops.
- Terry Cloth and Towels: The looped texture is aggressive. A knockdown stitch is non-negotiable here, which is why every towel embroidery file should include one as standard.
- 3D Puff Foam: Foam must be tacked down firmly before capping stitches are applied, otherwise it shifts mid-run and distorts the finished design.
- Knit Fabrics: Stretchy surfaces move under the needle. A tackdown layer stabilizes the area before the design begins.
How to Apply Knockdown Tackdown Stitch Embroidery: Step by Step
Step 1: Identify Your Fabric Type First
Before opening your digitizing software, confirm the fabric. If it is fleece, toweling or foam, a knockdown layer is required. Smooth fabrics like twill or cotton do not need one.
Step 2: Add the Knockdown Layer Before Everything Else
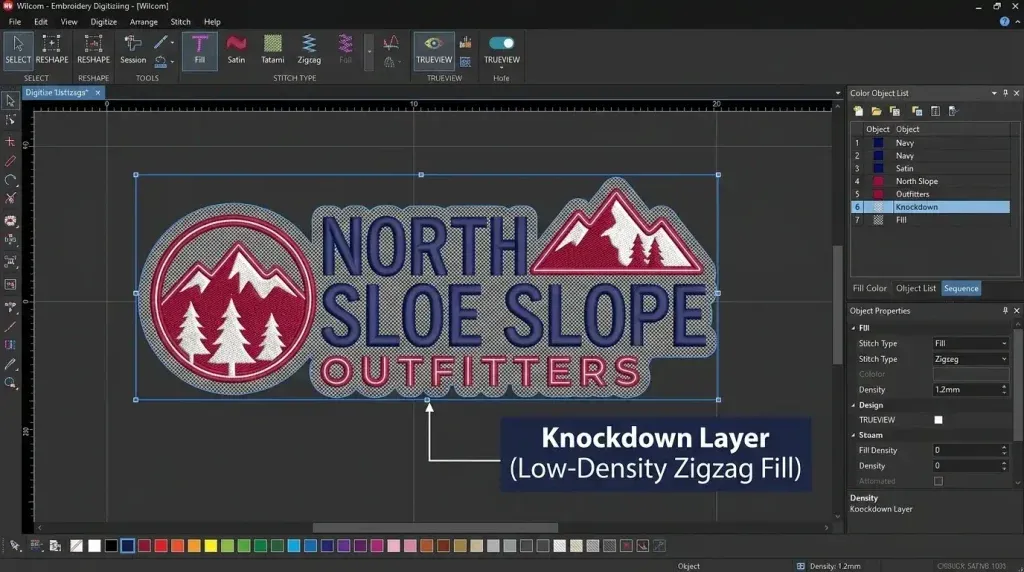
In Wilcom or Hatch, add a low-density zigzag fill covering the full design area as your first layer. This is your knockdown. It just needs to press the fabric flat. It does not need to look perfect.
Step 3: Add Normal Underlay on Top
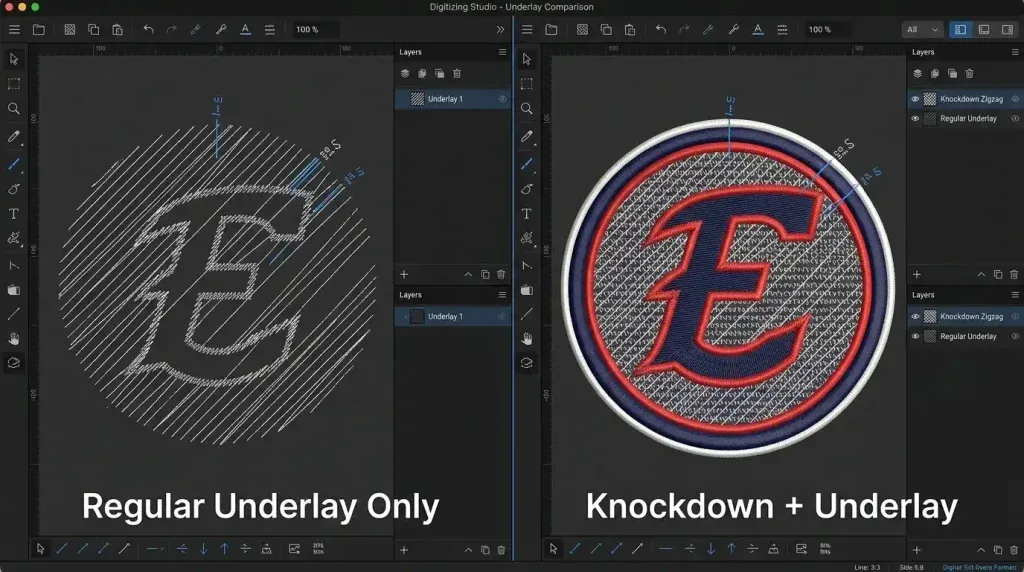
Once the knockdown is placed, add your standard underlay such as edge run, zigzag, or center run depending on your fill type. For more detail on choosing the right type, see our guide to underlay stitches in embroidery. The knockdown flattens, the underlay supports. Both layers work together.
Step 4: Run Your Top Stitches Last
With knockdown and underlay both in place, your satin or fill stitches now sit on a flattened, stable surface. The difference in stitch clarity on fleece or terry cloth is immediately visible.
Knockdown Stitch vs Regular Underlay
A regular underlay stabilizes fabric and gives top stitches something to grip. A knockdown stitch physically pushes down raised or looped fibers before any other layer begins.
On smooth fabrics, underlay alone is enough. On fleece or terry, you need knockdown first, then underlay, then top stitches. Correct stitch sequencing like this is one of the most important factors in producing files that are truly production-ready.
How Sassy Digitizing Handles Knockdown Tackdown Stitch Embroidery
At Sassy Digitizing, every file digitized for fleece, toweling, or 3D puff foam includes a proper knockdown layer as standard. Our digitizers use Wilcom software and apply the correct stitch sequence based on the fabric type you specify.
If your current files are missing this layer, our embroidery digitizing services can redigitize your design correctly. For finished patches on challenging materials, visit our custom patches service.
Frequently Asked Questions About Knockdown Tackdown Stitch Embroidery
What is knockdown tackdown stitch embroidery?
Knockdown tackdown stitch embroidery is a stitch layer that runs before the main design. Its only job is to flatten the fabric surface, such as fleece pile, terry loops, or 3D puff foam, so the top stitches have a smooth stable base to sit on instead of sinking or shifting.
What fabrics need a knockdown tackdown stitch?
Fleece, terry cloth and towels, 3D puff foam, and knit fabrics all require a knockdown tackdown stitch. Fleece has thick soft pile that causes satin stitches to sink without it. Terry cloth has aggressive looped texture that makes a knockdown non-negotiable. 3D puff foam must be tacked down before capping stitches are applied, and knit fabrics move under the needle without a stabilizing tackdown layer.
What is the difference between a knockdown stitch and underlay?
A regular underlay stabilizes fabric and gives top stitches something to grip. A knockdown stitch physically pushes down raised or looped fibers before any other layer begins. On smooth fabrics, underlay alone is enough. On fleece or terry cloth, the correct sequence is knockdown first, then underlay, then top stitches.
Where should the knockdown layer be placed in an embroidery file?
The knockdown layer must be placed as the very first element in the embroidery file, before underlay and before top stitches. It typically consists of a low-density zigzag fill covering the full design area, and only needs to press the fabric flat rather than look visually clean on its own.
Summary
Knockdown tackdown stitch embroidery is small but essential. It flattens the surface, protects your design clarity and ensures top stitches sit exactly where they should. If your digitizer is not including it, ask them to.
Need a file done right the first time? Contact Sassy Digitizing today.
Keith Blair
Senior Quality Control (HOD)
As the Head of Quality Control at Sassy Digitizing, Keith brings over 12 years of hands-on commercial embroidery experience to the table. He is our resident problem-solver, specializing in the technical nuances of stitch density, pull compensation, and complex digitizing. When he's not establishing quality standards for 3D puff and appliqué, you'll find him perfecting the art of small lettering to ensure every stitch counts.
Expertise:
Related Articles

Best Embroidery Digitizing Service 2026 | Sassy Digitizing
Scale your apparel brand or embroidery shop with the best embroidery digitizing service of 2026. Sassy Digitizing comple…

Best Embroidery Digitizing Settings for Hats and Caps
Stop ruining structured hats with flat sew files. Discover the essential digitizing secrets for curved 3D surfaces inclu…
Embroidery Stitch Density: How to Fix Bulky and Stiff Designs
High embroidery stitch density is the most common reason designs come out stiff, raised and bulky. This guide covers the…