


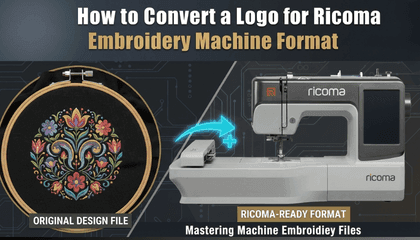
How to Convert a Logo to Ricoma Embroidery Machine Format
Ricoma embroidery machines are industrial workhorses. Whether you own a single-head MT-1501 or a multi-head powerhouse, these machines are designed for high-speed, high-quality production. However, a common hurdle for many embroidery business owners is figuring out how to get their graphic logo from the computer screen onto the fabric.
You cannot simply plug a JPEG or a PNG file into a Ricoma machine and expect it to stitch. To make your machine “understand” your design, you must convert it into a language it speaks.
The Universal Language of Ricoma: The .DST Format
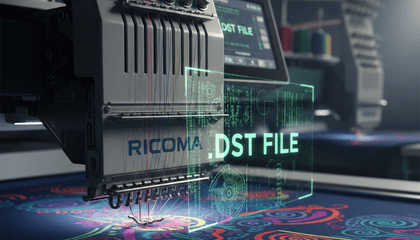
While Ricoma machines are technologically advanced, they primarily use the .DST file format. This is a technical embroidery format that tells the machine exactly where to move the needle and when to trim the thread.
Unlike some home machines that store color information in the file, .DST files only store the “commands.” This means you will need to manually assign the thread colors on your Ricoma control panel after you load the design.
Step 1: Start with a High-Resolution Graphic
Before you even touch your embroidery software, look at your logo. Is it blurry? Are the edges jagged? If your source image is poor, the converted embroidery file will be poor too.
For the best results on a Ricoma, it is always better to have your logo in a vector format (like AI or EPS). If you don’t have a clean version of your logo, you might struggle with the conversion. This is exactly where professional help comes in. To help you get started without any risk, you can actually get your first professional logo conversion for FREE from our expert team. This ensures your first Ricoma project is a guaranteed success.
Step 2: Using the Right Digitizing Software
To convert your logo to .DST, you need digitizing software such as Wilcom, Chroma (Ricoma’s own software), or Hatch.
Import the Logo: Open your software and import the high-quality version of your logo.
Set the Dimensions: Scale the logo to the exact size you need. Remember to keep your Ricoma hoop sizes in mind so the design doesn’t exceed the stitching area.
Pathing and Underlay: This is the most critical part. You need to decide which part of the logo stitches first. Proper “underlay” stitches are essential to stabilize the fabric before the top satin stitches are applied.
Export as .DST: Once the digitizing is complete, save or export the file as a .DST.
Step 3: Managing the “Push and Pull”
Ricoma machines run fast, and fast machines put a lot of tension on the fabric. This is known as the “Push and Pull” effect. A professional digitizer will adjust the file to compensate for this movement. If your file isn’t digitized correctly, the outlines of your logo might not line up perfectly once it’s finished.
Step 4: Loading the File into the Ricoma Panel
Once you have your .DST file on a USB drive:
Insert the USB into the port on the side of the Ricoma screen.
Go to the ‘Design’ menu and import the file from the USB into the machine’s internal memory.
Set your color sequence (assigning which needle corresponds to which part of the design).
Do a “Trace” to make sure the design fits in your hoop and won’t hit the frame.
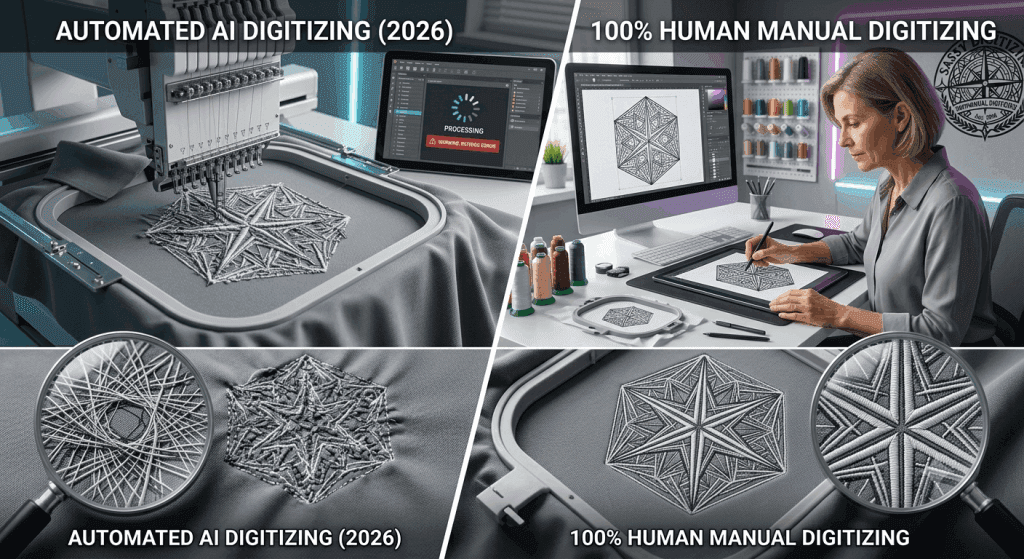
Why Manual Digitizing Trumps Auto-Digitizing
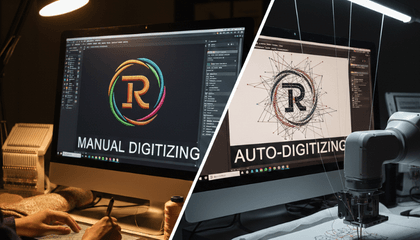
Many people try to use the “Auto-Digitize” button in their software. For a machine as precise as a Ricoma, this is usually a mistake. Auto-digitizing often creates too many unnecessary stitches, which can lead to thread breaks and needles hitting the throat plate.
Manual digitizing ensures that the stitch density is perfect and that the machine runs efficiently, saving you time and reducing wear and tear on your equipment.
Final Thoughts: Ready to Stitch?
Converting a logo for a Ricoma machine is a blend of art and science. Once you master the .DST format and understand how your machine handles different fabrics, your production quality will skyrocket.
If you are feeling overwhelmed or want to see how a perfectly digitized file runs on your Ricoma, don’t forget to take advantage of our free trial. We want to see your embroidery business grow, and that starts with a flawless file.
FAQS
1. Why is my Ricoma machine not reading the .DST file?
The most common reason is the USB format. Ricoma machines require a USB drive formatted to FAT32. Also, ensure your file name is short and doesn’t contain special characters like @, #, or symbols.
2. Can I use .PES or .JEF files on a Ricoma machine?
No, Ricoma machines primarily use .DST or .DSB formats. If you have a .PES file, you must convert it to .DST using embroidery software or a professional digitizing service before loading it.
3. Why don’t the colors show up automatically in the .DST file?
The .DST format does not store color data, only stitch commands. You must manually assign your thread colors and needle sequence on the Ricoma control panel after loading the design.
4. What should I do if I get a “Frame Limit” error?
This happens if your design is larger than the selected hoop or not centered. Always perform a “Trace” on your Ricoma screen to ensure the design fits perfectly within the hoop boundaries.
5. Is it safe to resize a design directly on the Ricoma screen?
It is not recommended. Resizing more than 10% on the machine panel can mess up the stitch density. For the best results, always have the file digitized to the exact size you need.
Keith Blair
Senior Quality Control (HOD)
As the Head of Quality Control at Sassy Digitizing, Keith brings over 12 years of hands-on commercial embroidery experience to the table. He is our resident problem-solver, specializing in the technical nuances of stitch density, pull compensation, and complex digitizing. When he's not establishing quality standards for 3D puff and appliqué, you'll find him perfecting the art of small lettering to ensure every stitch counts.
Expertise:
Related Articles
Best Embroidery Digitizing Settings for Hats and Caps
Digitizing for hats and caps is a completely different ballgame compared to flat garments like T-shirts or hoodies. The …
How to Convert PNG to DST for Embroidery: The Complete Guide
If you are new to the world of custom apparel, you might be wondering why you can’t simply open your company logo in Pho…
AI vs Manual Embroidery Digitizing: Why Automated Software Fails.
Every week, a new embroiderer falls into the same trap. They upload a beautiful client logo into an AI auto-digitizing t…